Converting Artwork into AR

After activating your FrameIT account, start creating AR artworks in FrameIt AR Studio. Just upload an image for each piece and enter its details (name, size, frame type).
Your collection will populate your AR gallery. See an AR Gallery example ▸
Uploading Artwork
- Drag and drop a photo into the upload area or click "choose a file." You can also paste the image URL below the upload area (URL must be public).
- Accepted image formats include JPG, PNG, and BMP.
For optimal performance, it is recommended to avoid overly large images. Ideally, images should be about 2,000 pixels in their longest dimension.
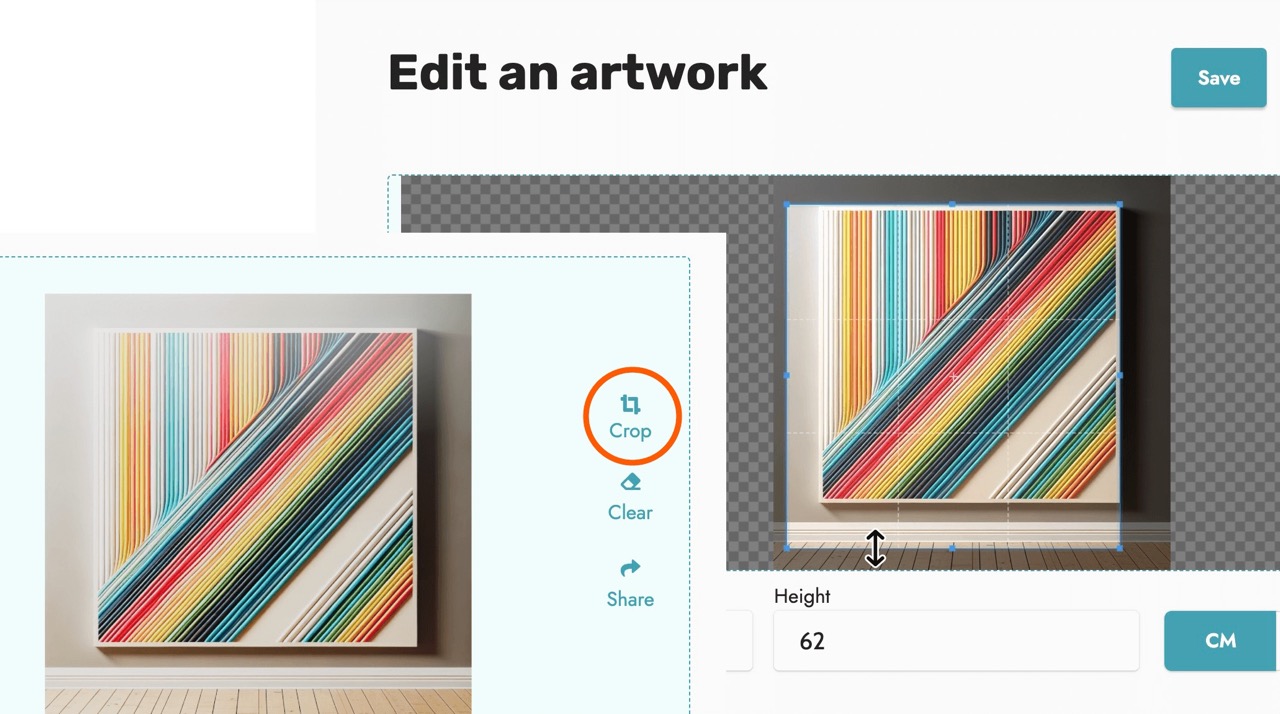
Size of the Artwork
Enter one of the actual dimensions of the artwork (width or height), not the image's size, in centimeters or inches. The other dimension will be automatically calculated based on the aspect ratio of your image.
- If the image includes the artwork's frame, the entered dimension should encompass this frame.
- If your image depicts the artwork without a frame, enter only the artwork's own dimension. Do not include the dimensions of a potential frame.
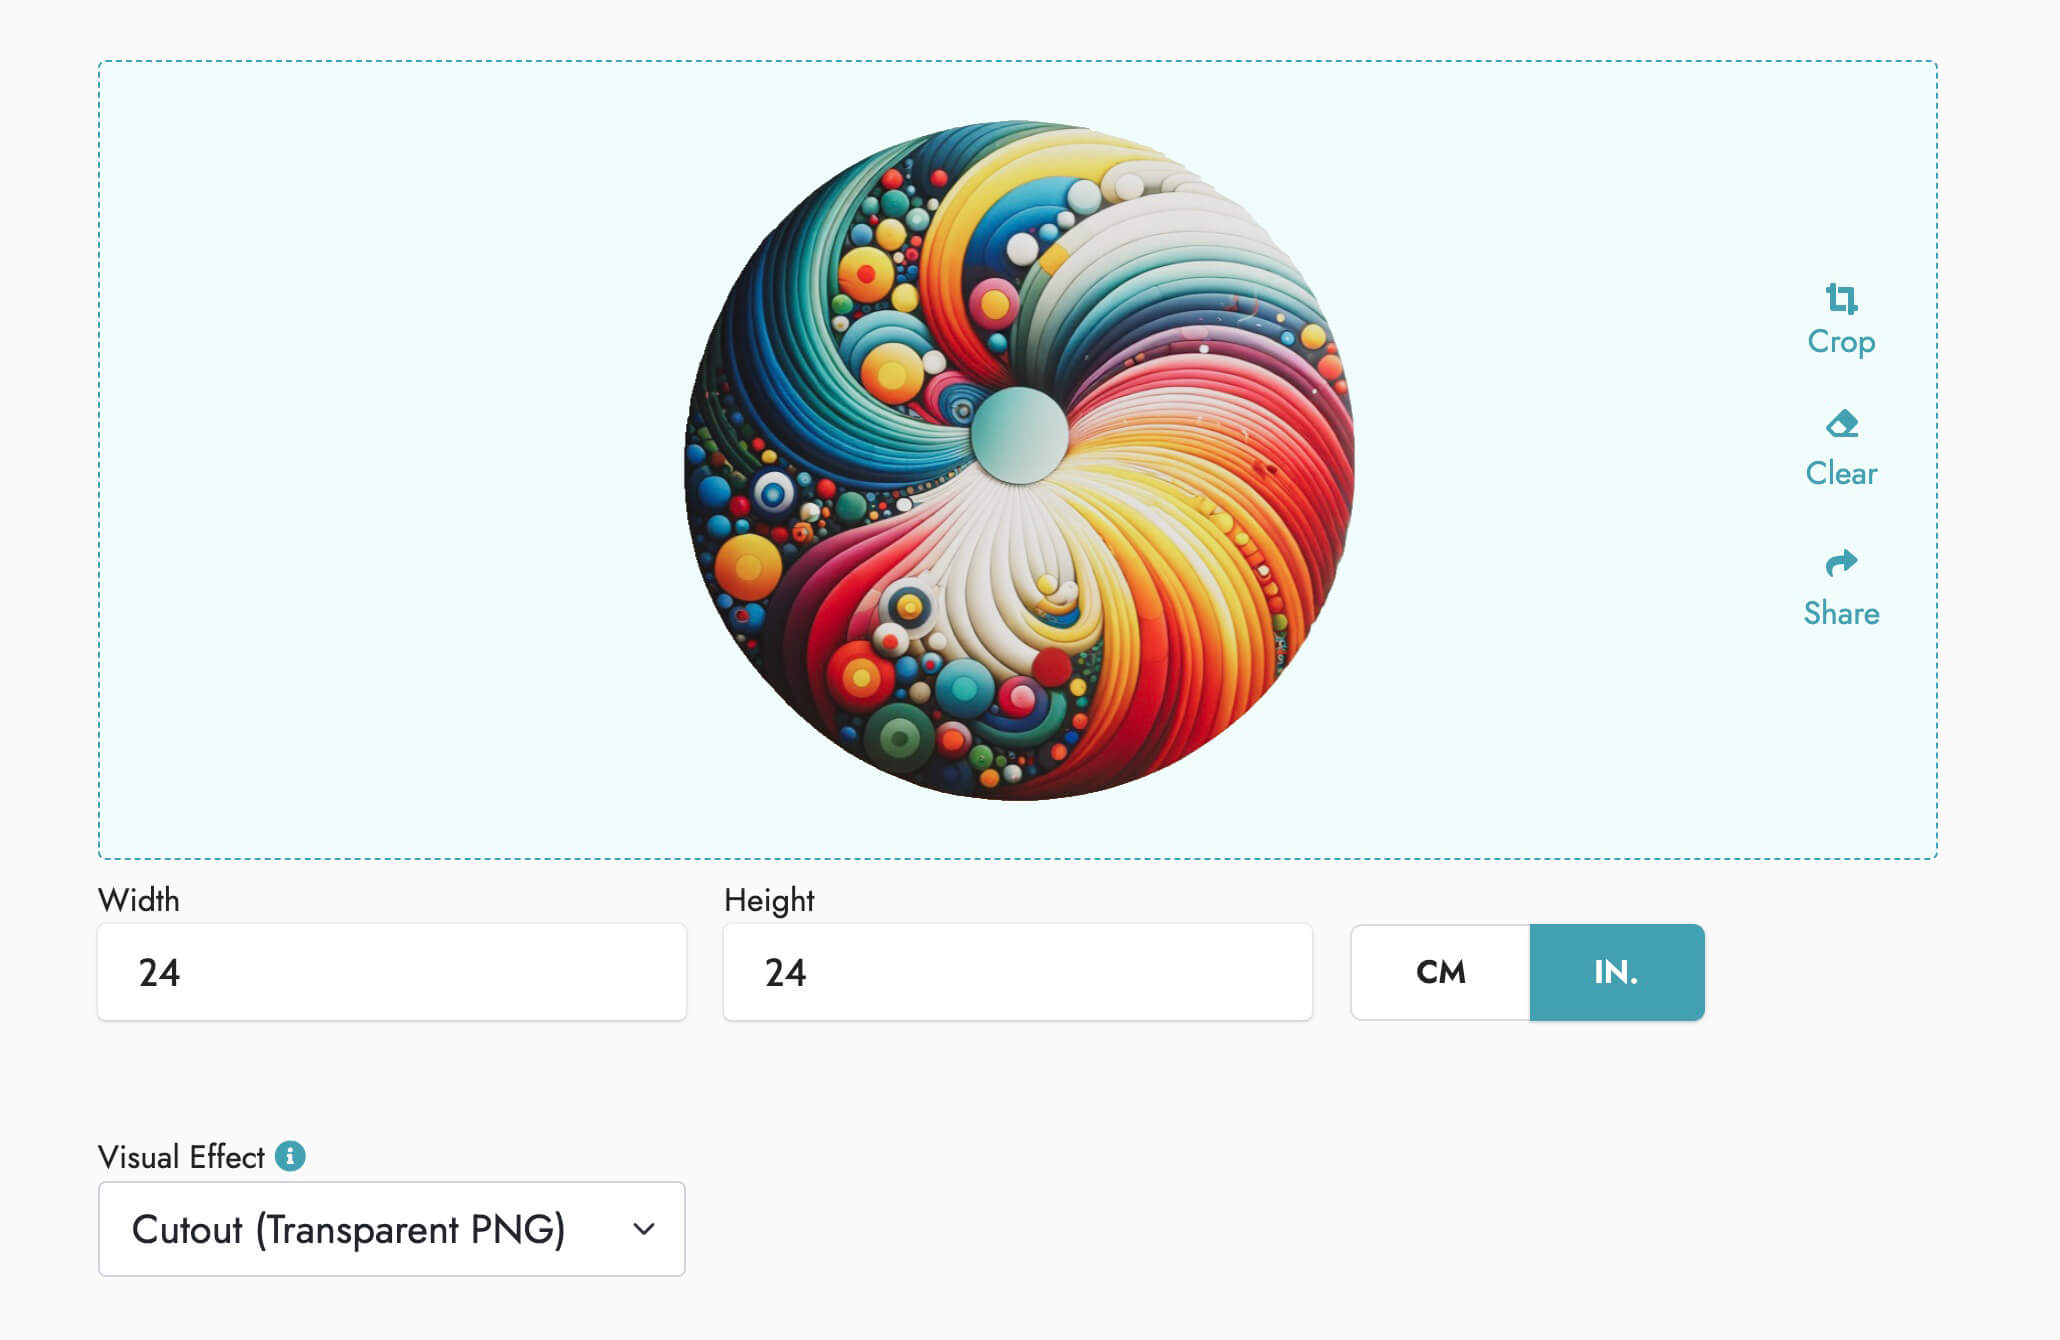
Choosing a Visual Effect
- None: Suitable for all rectangular artworks.
- Cutout (Transparent PNG): Ideal for non-rectangular artworks and polyptychs. Use only with a .png file that includes transparent areas.
- Canvas: Adds a canvas grain effect to a textureless image.
- Poster: Suitable for representing an AR artwork without apparent thickness.
- Plexiglass: Creates a plexiglass effect in front of the AR artwork.
Frame Selection
Choose from a variety of frame styles and colors, allowing your potential buyers to ensure that both the artwork's size and style, as well as its frame, complement their interior.
The 'Mat' option adds a mat of approximately 2.4 inches (6 cm) around the framed artwork - ie. +4.8 inches (+12 cm) in each direction.
"Additional Info" Fields
These fields help precisely identify the artworks displayed in your AR Gallery (example here) and on visitors' Wishlists.
The artist's name and the artwork's title are also used to name your QR code files, simplifying their later identification.
Learn more about QR codes and their use ▸
Although optional, these fields are highly recommended.
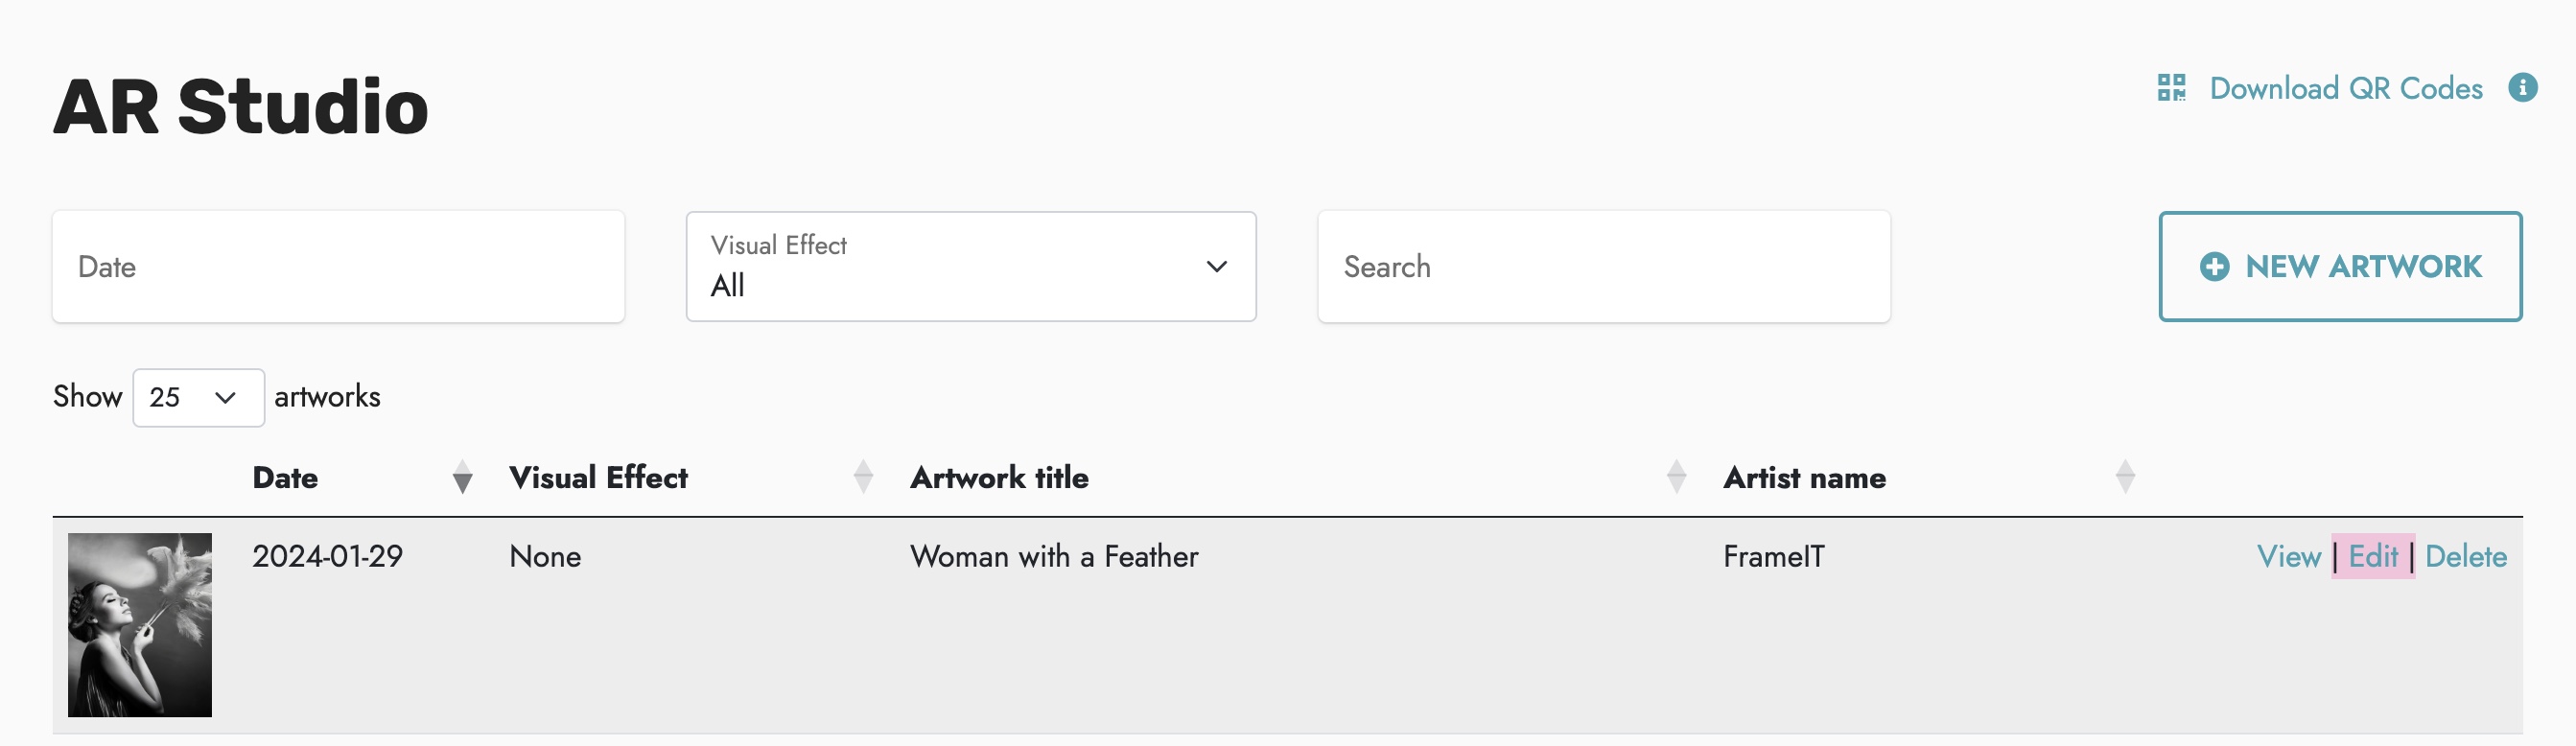
Editing an AR Artwork
- To edit an artwork, click the 'AR Studio ' button, located in the top right corner of the screen.
- Search for the artwork in the list, then click 'Edit ' at the right side of its container.