5 tips to optimize your tour

The GuidiGO application offers numerous features that can enhance the visitor experience for your tours and help you create engaging content that users will want to be a part of.
- Synchronize your images and audio content
You don't need to be a professional editor to turn each stop of your tour into a mini documentary! By synchronizing your images with your audio content, you can ensure that visitors see the chosen image at the perfect moment in your commentary.
- Pay attention to the order of the stops
Organize the stops in a manner that prevents your visitors from walking unnecessary distances. To rearrange a stop within the tour, use the "Reorder" feature in the 2nd tab (Stops) or the drag-and-drop option in the 3rd tab (Map).
Once you've changed the order of the stops, consider adjusting the route on the map accordingly.
- Draw the route of your tour on the map
Although a straight line may be the shortest path from point A to point B, it doesn't always guarantee the most enjoyable tour. Edit the default path to indicate the route you recommend visitors take for the best experience.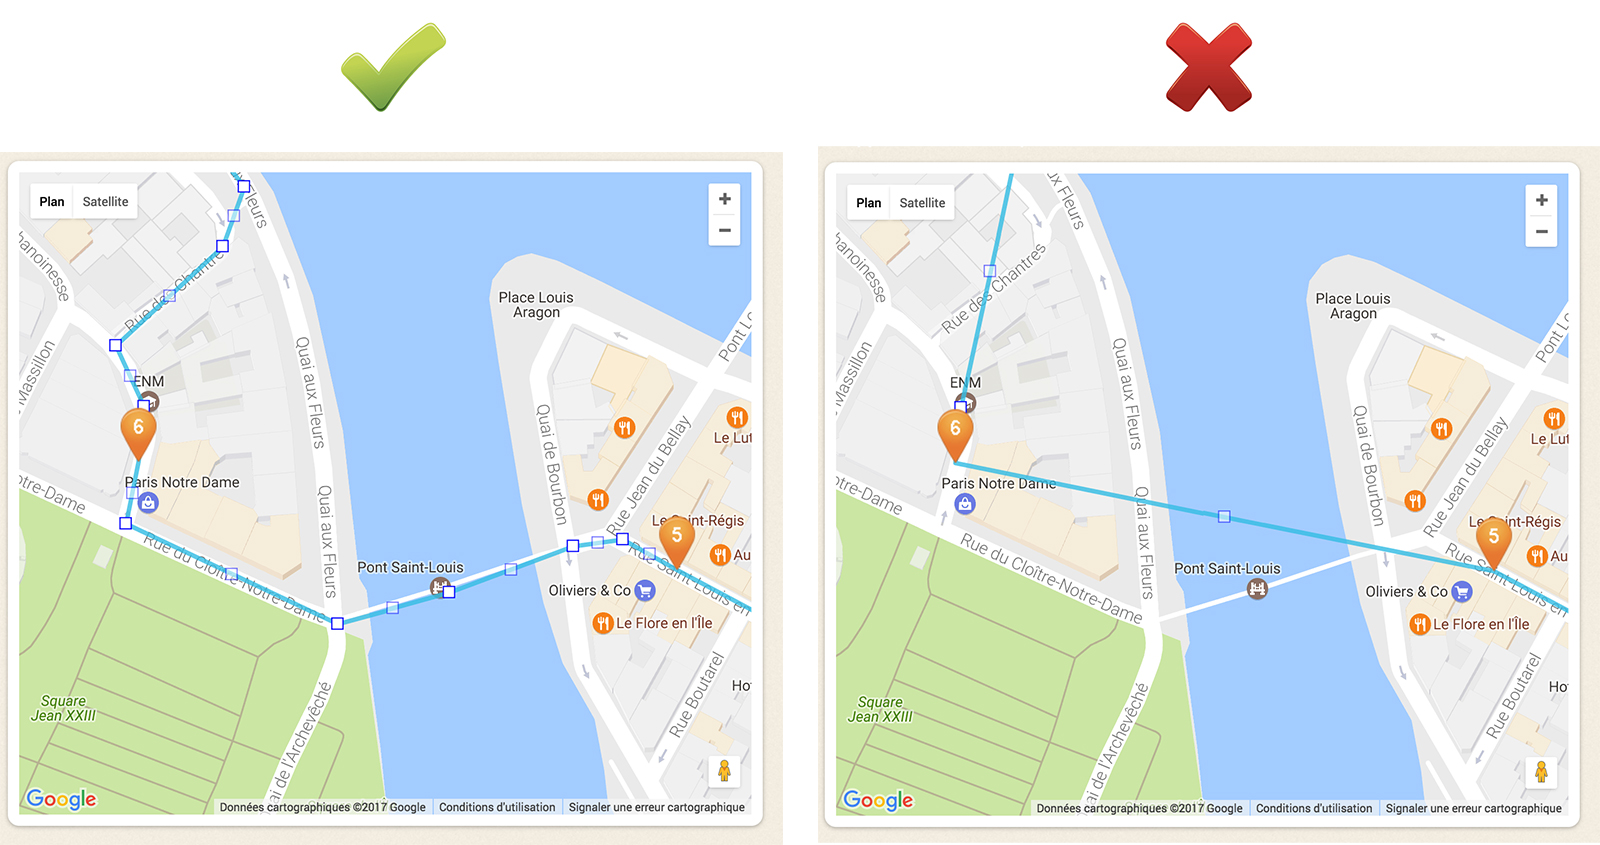
- Leverage various types of content
GuidiGO has always allowed you to add audio, images, and text to your tours. Today, the possibilities have expanded even further. You can now enhance your stops with videos, 360-degree views/photospheres compatible with Google Cardboard, and 3D models from the website Sketchfab.com (read this article).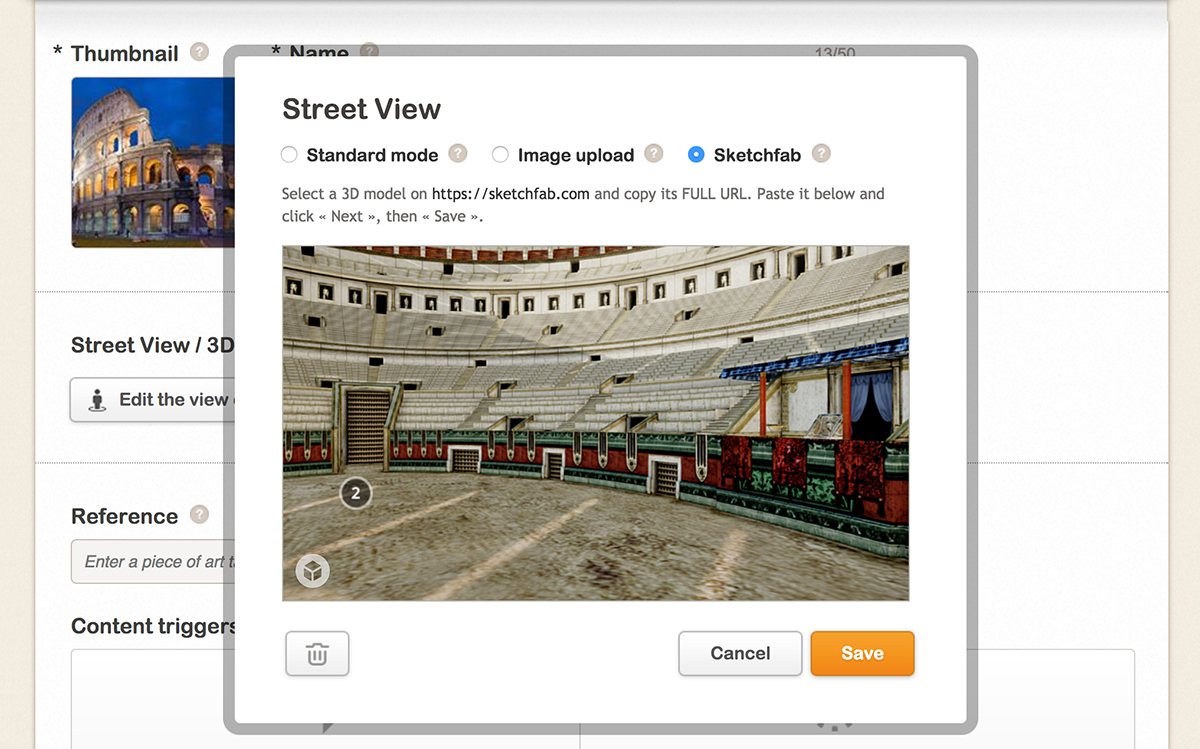
Currently, 3D models from Sketchfab are accessible in the GuidiGO web app, but not in the GuidiGO mobile applications.
- Use Private Mode to test your own tours
Even though you may know your tour by heart, we recommend testing it yourself in real-world conditions and within the application before making it public. This approach allows you to identify and optimize small details that can make a significant difference for your users. To do this, publish your tour in Private Mode; this will ensure that only you have access to it in the application.