Adding Street View to a stop
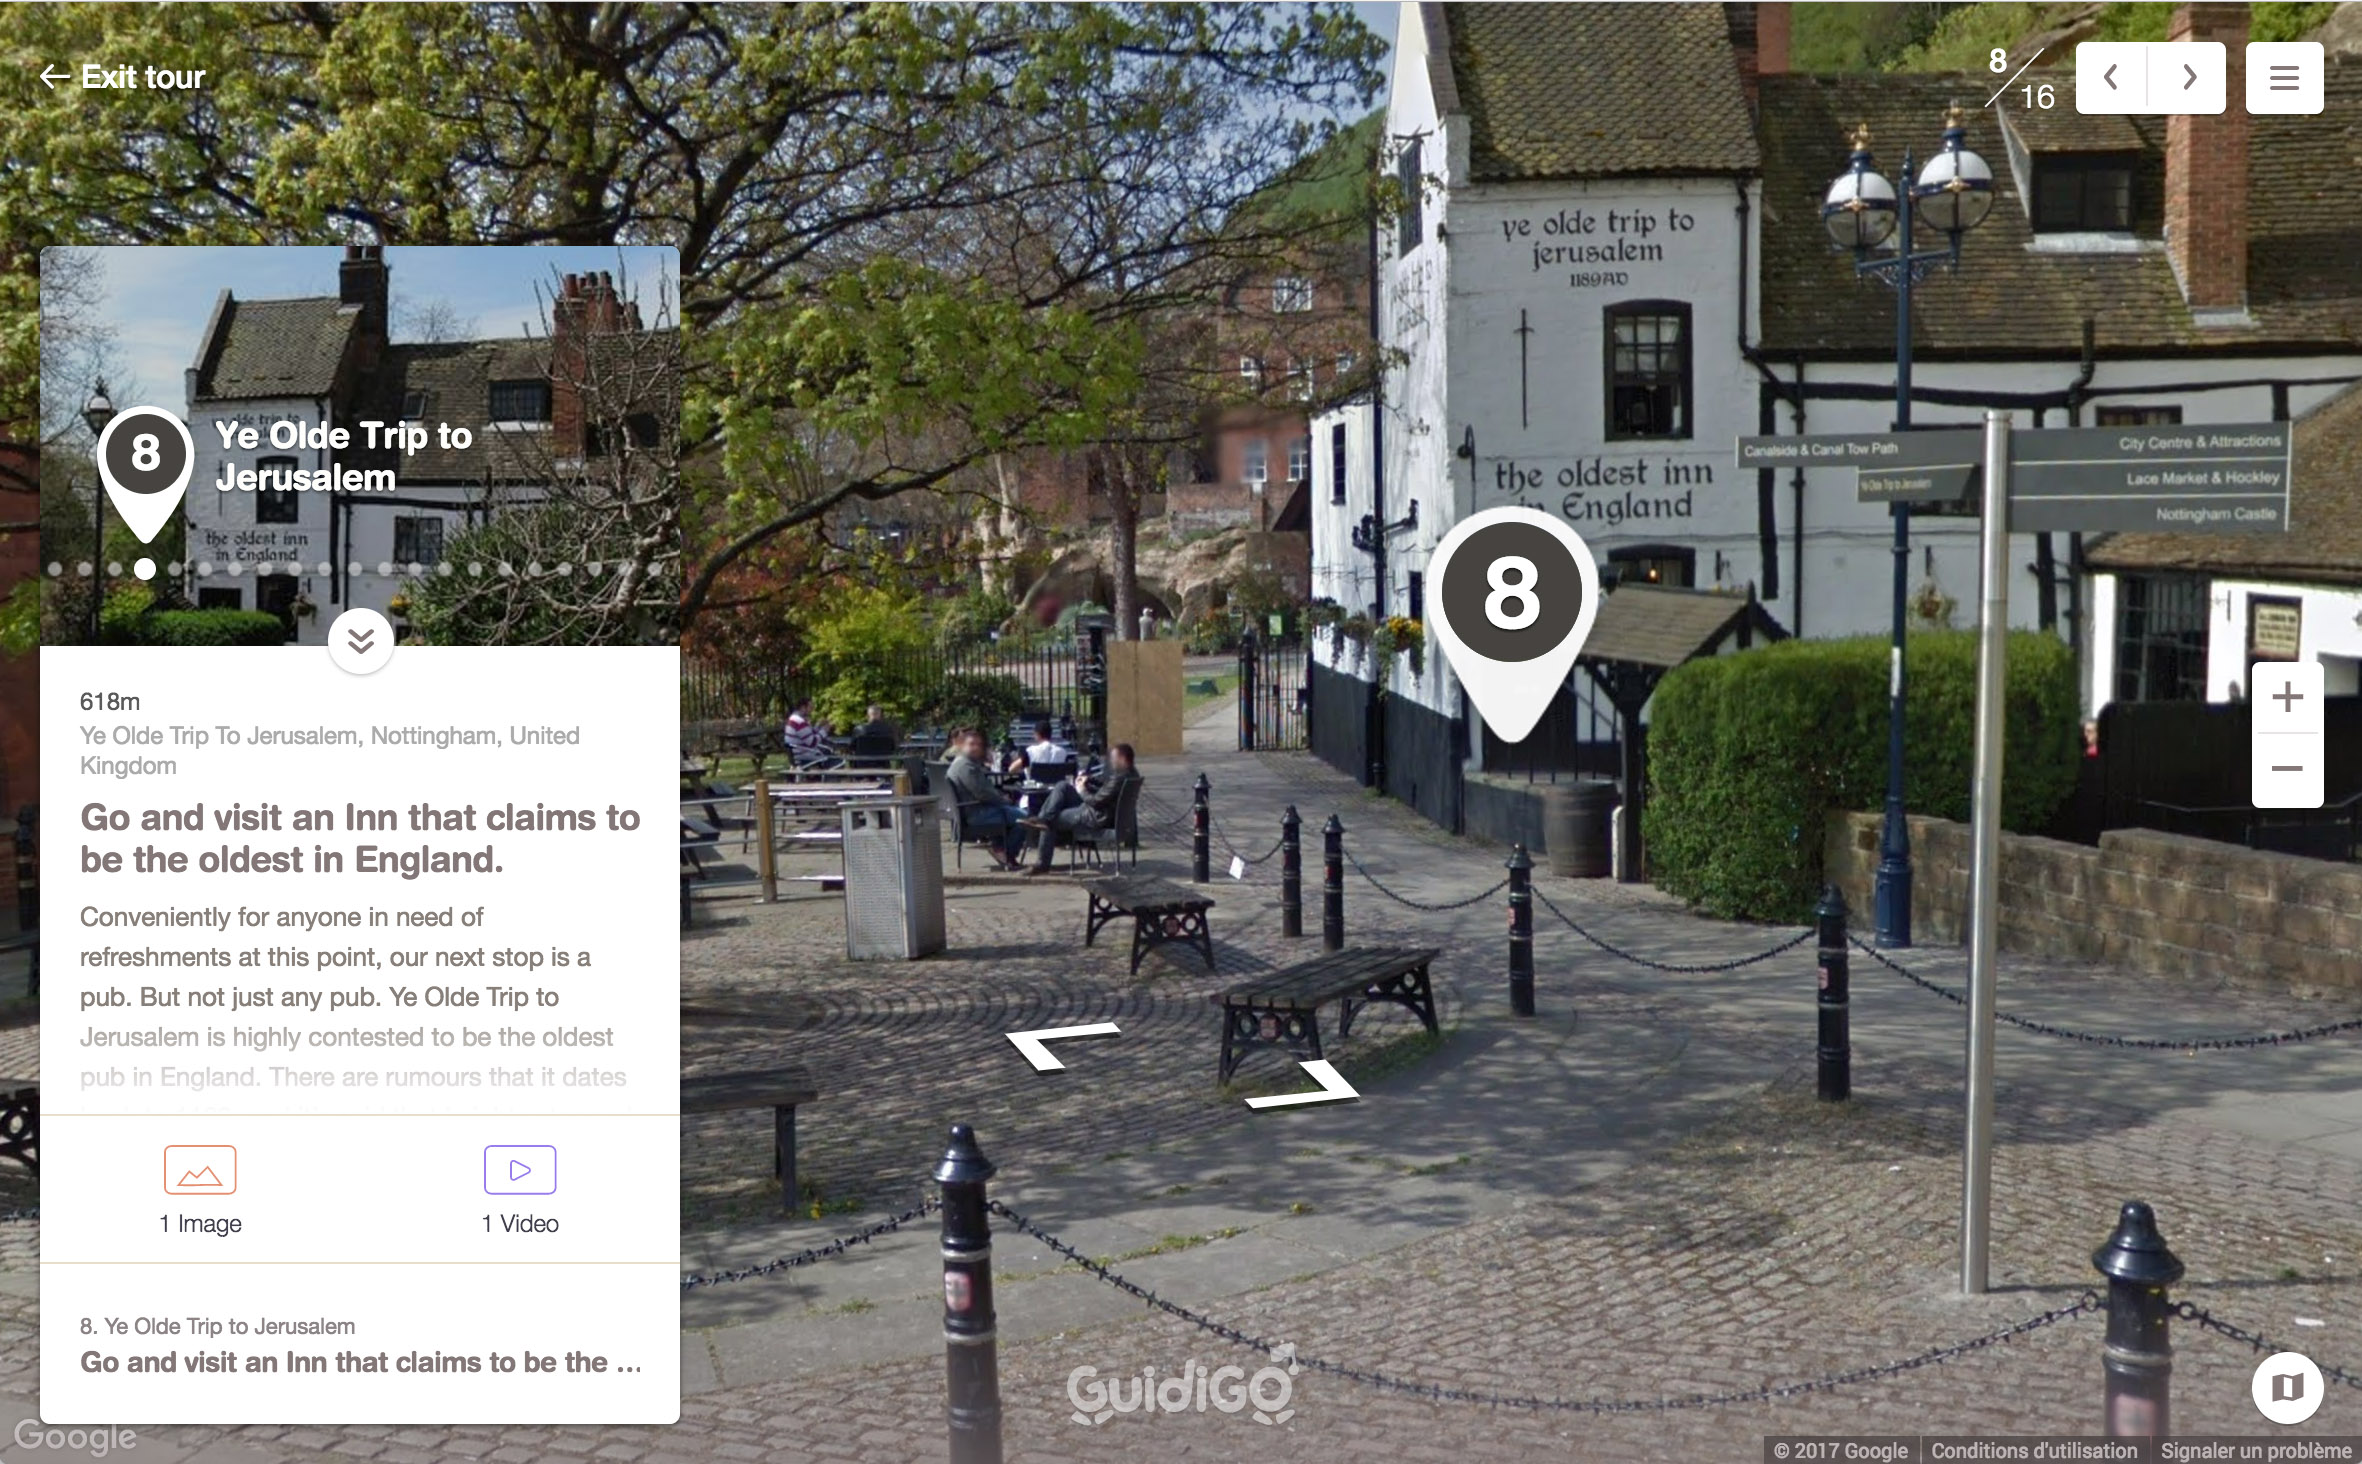
To help users fully enjoy your tour, especially in the GuidiGO web app, consider adding a Google Street View map to each stop, as shown in this example.

Follow these steps to proceed:
- Navigate to the 2. Stops tab.
- Select a stop.
- Click the Add a view or a model button and select Standard mode.
The default view that Street View associates with the address of your stop on Google Maps will appear.
- You will then have two options.
Option 1: The default view suits you
- Adjust the angle of the view and the zoom level to get a view exactly as it will appear to the user.
- Click Save.
You can go back to default view at any time, by simply clicking Reset.
Option 2: The default view does not suit you
- Verify and, if necessary, correct the address of your stop.
- If the address is correct and you still wish to change the view, click Change View.
- Paste the complete Street View URL that you want to use as a replacement in the popup field (see the next paragraph).
- Click Next and then Save.
How to find a Street View URL
- Open Google Maps in a new tab.
- Enter the name of the landmark and/or the desired address.
- Click the Pegman icon
 in the bottom right corner of the screen and move it to the desired location on the map.
 - Navigate the map, rotate the view and use +/- buttons until you find the view you want.
- Copy the complete URL from your browser’s address bar.
Adding your own 360° view
If Google Street View does not cover your stop, you could create and add a 360° view yourself.
- Select Image upload in the Street View popup of the stop.
- Upload an equirectangular image in the 2:1 format.
- Adjust the angle of the view and the zoom level.
- Click Save.
